Introduction
For this project we are going to be modelling an asset. I have chosen to model webshooters. We have to find reference photos or a physical object to bring in so we can see how to model it.
Initial Research
please look at the link
down below is a link to a word document that explains all the ideas I had on what I could possibly chosen to model.
High Poly Modelling Techniques
These are the common tools we use in MAYA to model, extrude, bevel, bridge, multi-cut, connect and target weld.
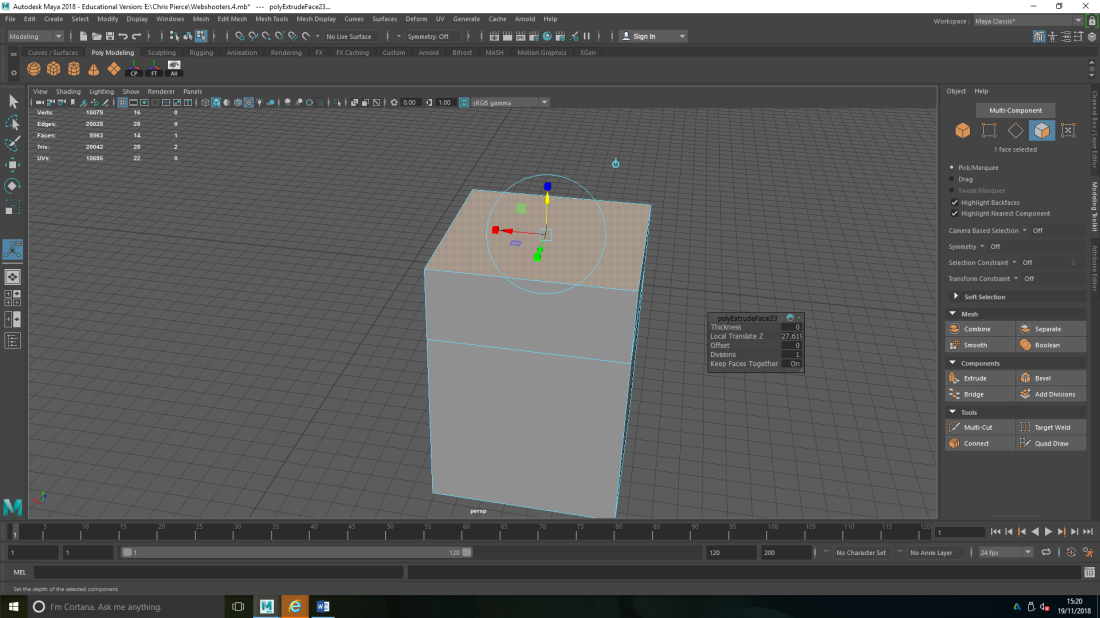
Extrude is when we take a face of a model and either pull up or down to get the basic layout of the model.
The video below is an example of high poly modeling techniques that are used within MAYA to create a high to low poly model.
the image below is an example of a high poly to low ploy model. you can see the detail on the right of the animal more then the left.
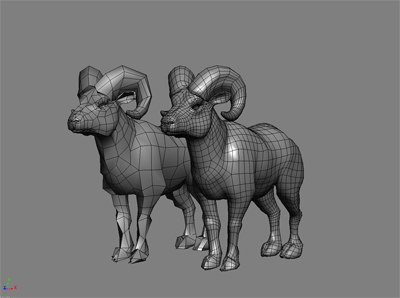
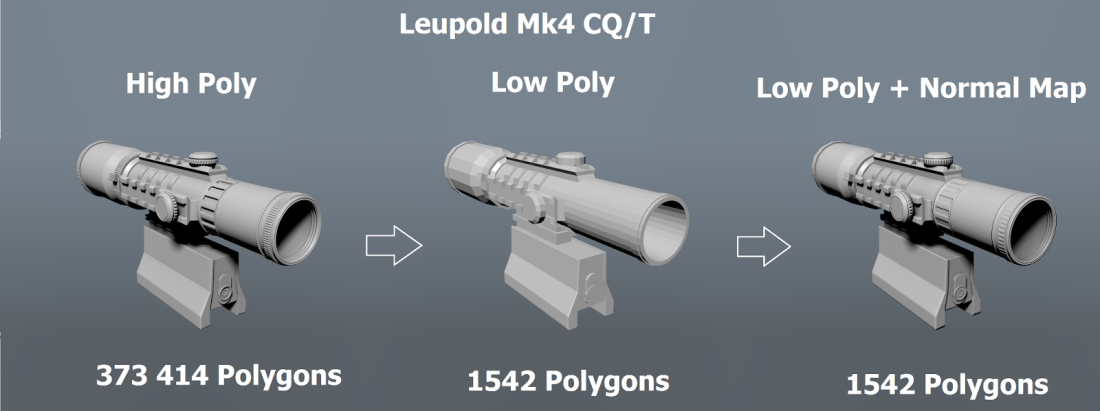
Why is it important to have low poly models for games?
Why do we create high poly models?
capture the details to put on the low poly
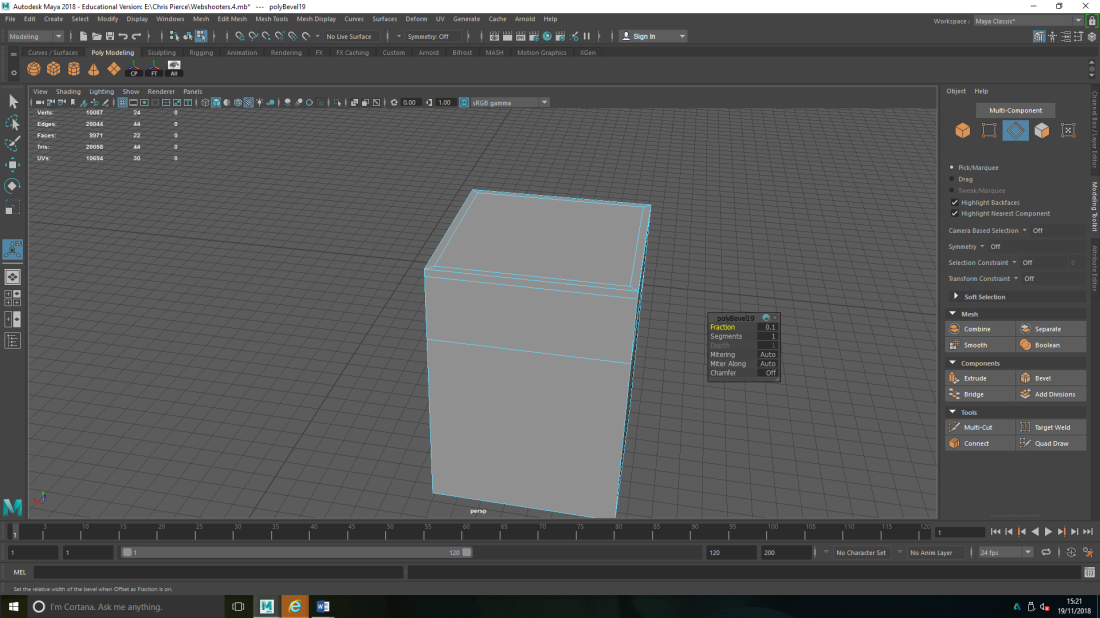
Bevel in modelling is when you want to get a sharp edge so you put to supporting edges in to get that sharp soft look. the other tool you could use for this method is Multi-cut.
down below is an example of multi-cut.
The Bridge tool is when on a model there is no face so you select two edges across from each other, select them then click bridge, it then fills the gap with a face.
Connect tool takes edges and pulls them together to create one edge around the model.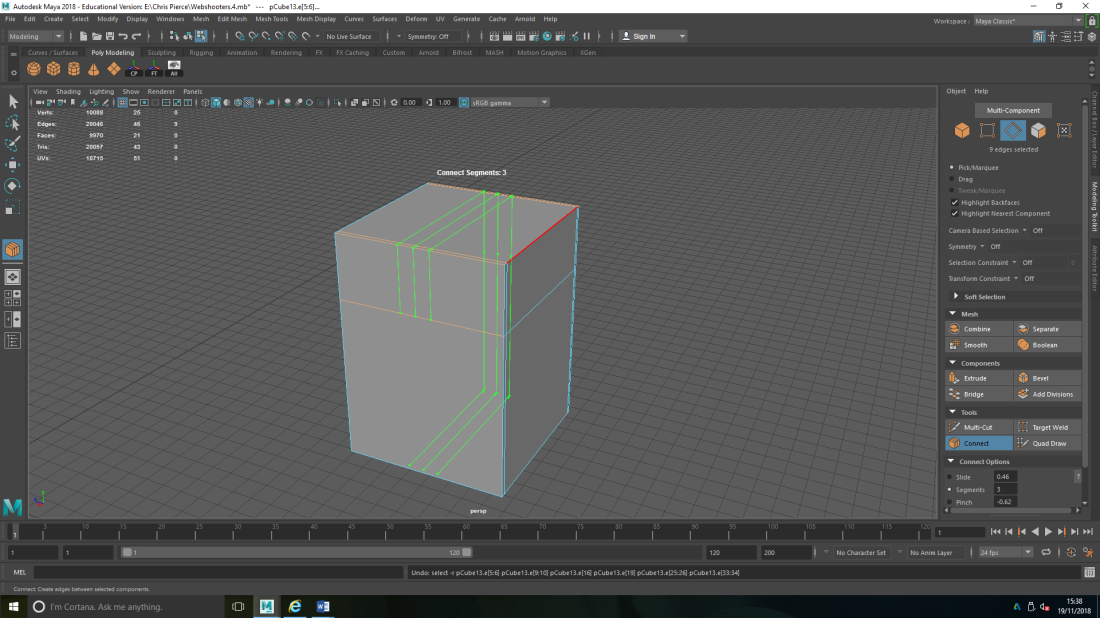
Target Weld will take two vertices, move one over the other and then it will merge those vertices together.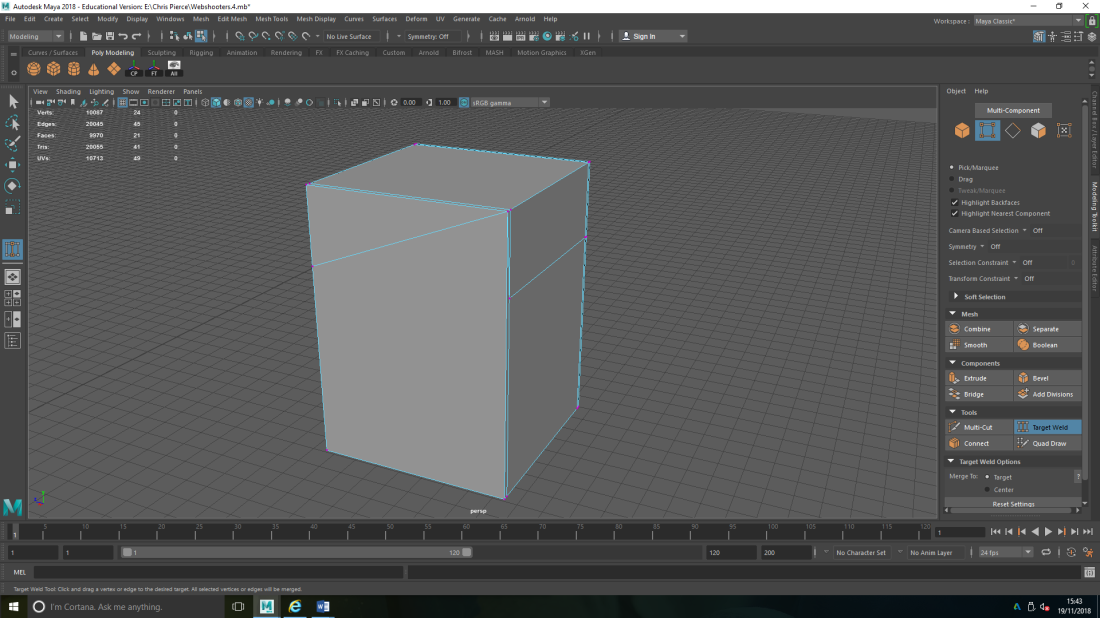
Low Poly Topology
on the left is the low poly and on the right is the high poly. Topology take the unessery edges out but it still keeps the simple/silhouette shape of the object. after the edges are taken out you can then bake, what this does is takes a copy of the high poly and projects it onto the low poly. so with the final object you will have a low poly count with a high poly look.
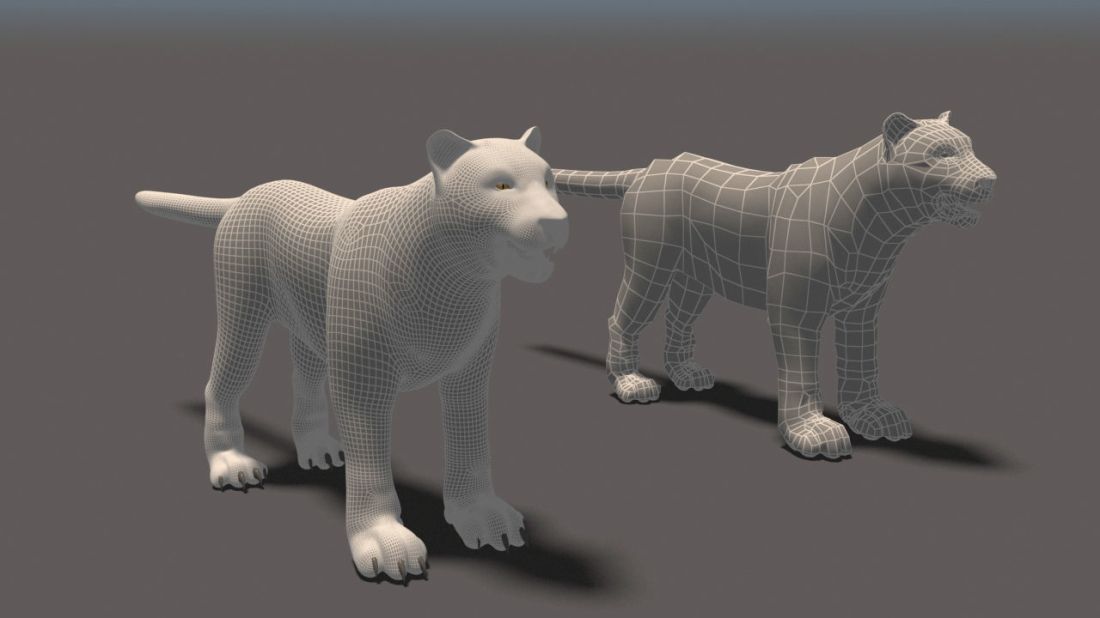
the image above is an example of high poly to low poly.
the link below is a video tutorial on how to model web shooters. I watched it to get a general idea of how I go about modelling them.
How to bake in substance Painter:
After finishing painting my model I selected bake mesh maps, selected the low poly model then changed the output size and hit bake mesh map.

This is my final model and Substance Painted of a Web-shooter cartridge from Spider-Man: Homecoming. This project, I found very hard with the modelling, I’m not familiar to MAYA and need to learn more. I really had fun with the Substance Painter side of the project, I do better with the art side of things and would probably would like to do more in the future.


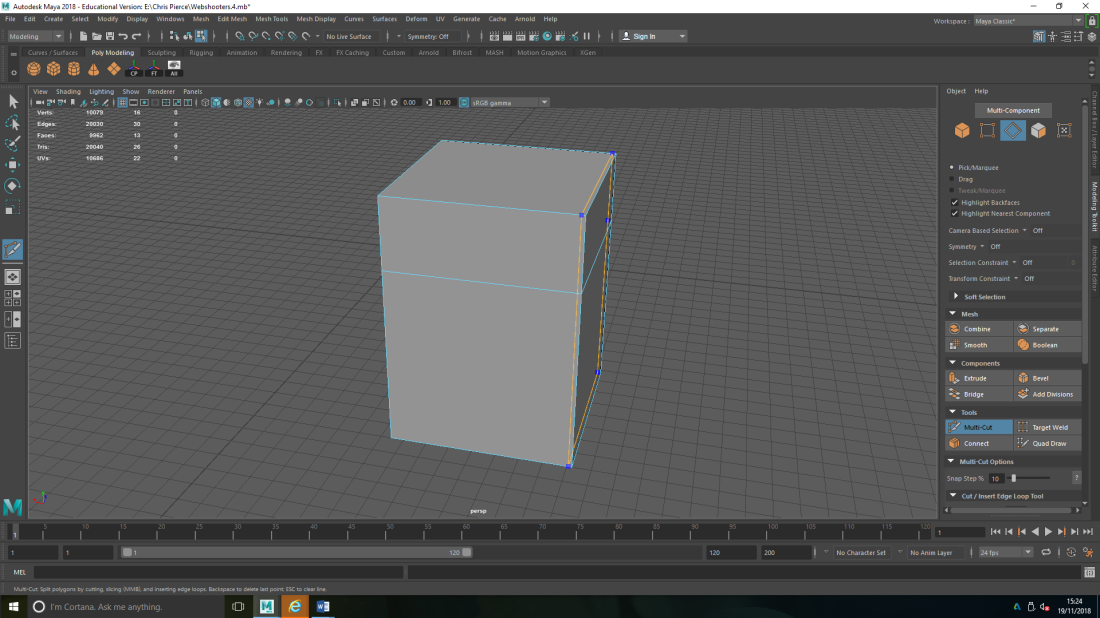
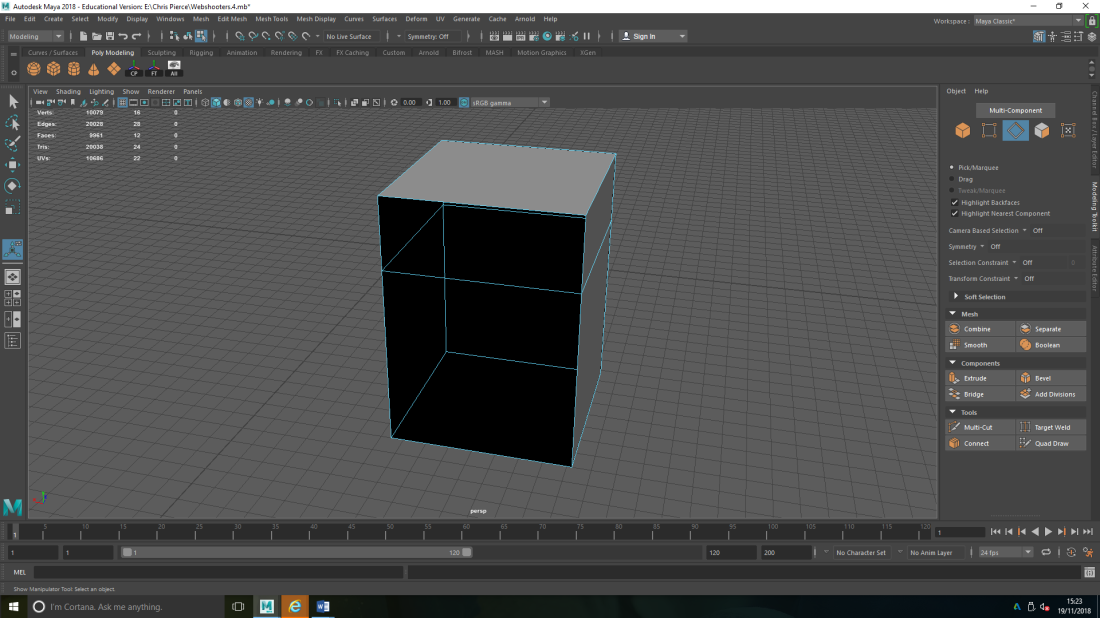
My process of modelling the Web-shooter Cartridge:
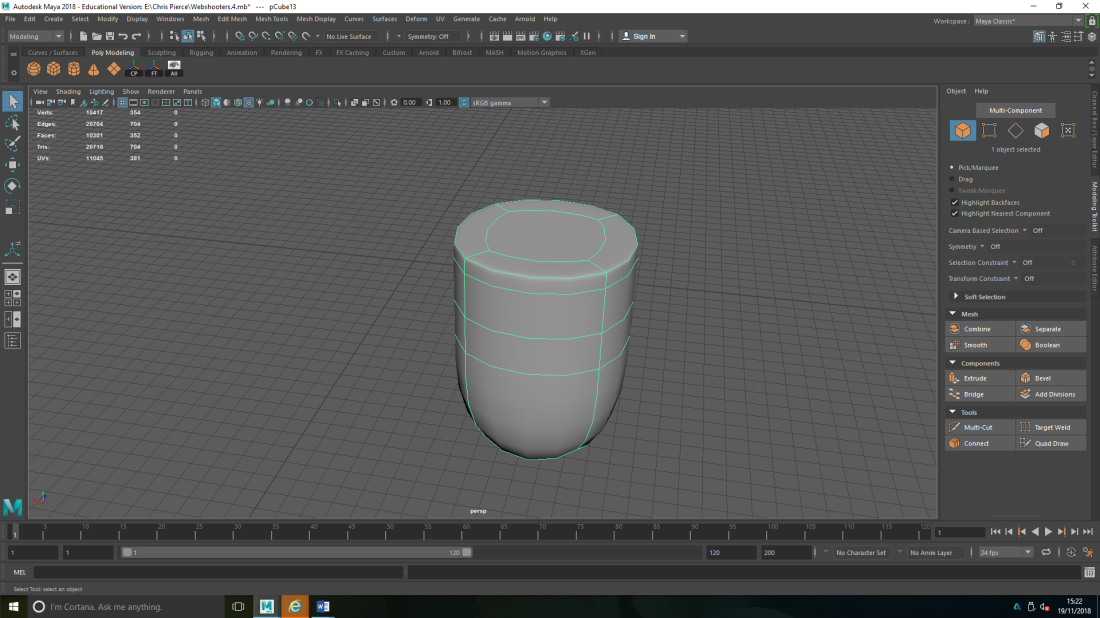
When modelling the Cartridge I first made a block and extruded it to the size I wanted, I then took the top part of the model and extruded out-ward to make the lid, I moved the bottom part so it was on a slant. I deleted the gab on the top part and then joined the edges to create the indent, I used the same process for the gab on both sides of the Web-shooters. For the back I extruded in-ward to create the inner bit. For the casing around the Web Cartridge, I placed edges to so I could line out how I wanted the model to look. I took the edges then moved them down to get the top part, to get the indent on the back I moved the edge line up slightly. The third part of the model I took the first part of the outer case and deleted one side of the case, I then took the other side and reduced it size and placed it on the side of the case. The back curved part of the model, I took another block and curved it and then made the ends straight so they lined up with the spaces at the side.


The this first image I am making the main part and the top part of the model.

I then duplicated it so it became one thing.

I then made the second part of the outer casing.

The next thing I did was make the side peace for the outer case.

On the left is the high poly model and on the right is the low poly, the reason why the low poly is red is so I could desiver between the two.

The last images is the wireframe for the model.


M Final Model
