What is 3D modelling?
3D modelling is a type of software used by the gaming industry to make characters, vehicles and environments.
I have typed into YouTube 3D modelling to watch videos on different things you can create.
In this video they are using MAYA to create a BMW i8 from scratch.
How is modelling for games different from modelling for films or any other medium?

3D modelling in games is a lot different to films because they are very limited to how much detail they can put in.
with a game like Call of Duty it may look realistic but you can still tell it’s a game.
In Harry Potter Dobby has more detail in the way he looks and moves. If you look closely you can see the small bits of hair on his head.
In games the quality has to be turned down because it renders every time the character moves. With films the animation is already rendered so there fore it has a higher quality.

Hard Surface / Organic Modelling
Hard modelling is everything man made like buildings, furniture. Organic modelling is more to do with what nature has created this includes trees, animals, humans.
In 3D modelling it is a lot harder to create something Organic because they have curves and they are more soft and squidgy.
There can be a crossover of Hard and Organic modelling, bags and pillows for example, they are man made but have no corners. They move in a Organic way.
When looking at Hard and Organic modelling in environments there are two types. You could create a field that is surrounded by Organic models e.g mountains, tress, animals. Where a Hard modelling is more of a city like New York filled with buildings, cars, architecture.

Example of Organic modelling

Example of Organic modelling
Environment Modelling (focus on buildings)
Environment modelling focuses on what the locations look like and how they will move. They have to make sure the animation side of it works just like the real world.
With buildings the doors have to move in a way that is timed and look convincing if someone was walking through it.

Modular modelling / Unique Modelling
Modular modelling is something you only make one of and then you can repeat it for the same use or different uses. It works for when you are creating a building if you create one chair you have created all of the chairs, where as Unique modelling there is only one of that model in the room, so for example clothes, people wear different clothes so they are unique to that person.
Example of Modular Modelling

Example of Unique Modelling

High Poly Modelling / Low Poly Modelling
Example of high and low poly

High poly modelling has more detail, because it has more polygons and you can add another soft wear to add even more detail.
With low poly modelling, it is used in gaming because games can’t take high poly. so what they do is project the high poly onto the low poly so it looks more realistic.
Example of high and low poly

Different modelling software
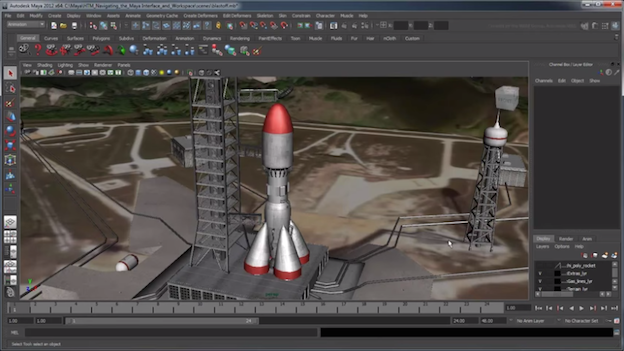
There are all different types of modelling software. the one we are using is MAYA it is the one of the most popular to use, you can create all types of things with modelling software Buildings, Vehicles, Characters and Assets. You can also use MAYA for animating objects and people.
Example of MAYA
MAXON is another modelling software, it is widely used in the film industry because you can easily animate characters.

Modelling Terminology
Faces: the surface of a thing, especially one that is presented to the view or has a particular function, in particular
Edges: the outside limit of an object, area, or surface.
Vertex: the highest point; the top or apex.
Tris: Tris is when you model an object or building, when you register it the game will read it as triangles, it is how many triangles in the model. We use quads in modelling because it’s easier to model.
Polygons: a plane figure with at least three straight sides and angles, and typically five or more.
N-gon: n–gon. A polygon with n sides. For example, an 8-gon is another name for an octagon.
MAYA Research 2D
What are UV’s

UV’s in modelling are a map of an area planned out in 2D first then moved to 3D. it is used to copy a image over the object or a environment.
0-1 UV Space
0-1 UV scape is when you have a 3D model of a box and you open UV mode it then becomes a net so you can put any custom things on and texture you then open it in Photoshop, edit it and put it on the box.
2D Net model
Working outside the UV space
The blue squares is the net for the box, and the grey box around it is the UV space. When you work out the UV scape whatever image is in the grey area infinitely goes on. Sometimes, depending on the texture you use when working out side the UV space the texture can mess up.

How to UV with Maya
UV Software and methods
- Automatic UV mapping

I think automatic UV mapping is where MAYA takes apart the model into different pieces for you so it makes it easier for you to texture, but that always isn’t the best way. The model may be UV properly but it is then hard to know what all the pieces of the model is.

I don’t think Automatic UV mapping is the best way for my building model because it is hard to know what all of the pieces are. The image also isn’t a good quality when it is finished. I think it would be better for me to UV the model manually.
- Planar UV mapping
I think Planar UV mapping is where you put a camera onto the model to overlap UV shells to make it look like one single UV shell from a different camera angle. on the image above the camera is facing the front of the object and it is clear but the rest of the model the checked pattern is stretched which then the image wont fit on the model properly.

I think it would work for my model because Planar UV mapping is mostly used for buildings. It would properly be the best method to use. Planar UV mapping is properly one of the easier methods to use in my case.
- Cylindrical UV mapping

This method is used for models that are cylinder, it stretches the image around the object. It is used for enclosed and visible shapes so it doesn’t show hollow parts and projecting.

This won’t work for me because no part of my building model is cycler, but if any part of the model included cycler objects then I would use this method.
- Spherical UV mapping

Spherical UV mapping is very similar to cylindrical UV mapping, but spherical UV mapping will take the hole shape where cylindrical UV mapping will only take the front, back and sides.

This won’t work for me because no part of my building model is cycler, but if any part of the model included cycler objects then I would use this method.
- Camera UV mapping

The Camera UV mapping is where the camera is placed, it is used as an starting point for you to model so you don’t have to UV. It projects the image from the camera, it is mainly used for film and animation not for games. It is used for special effects if yo want to blow the building up.
Any additional and relevant research
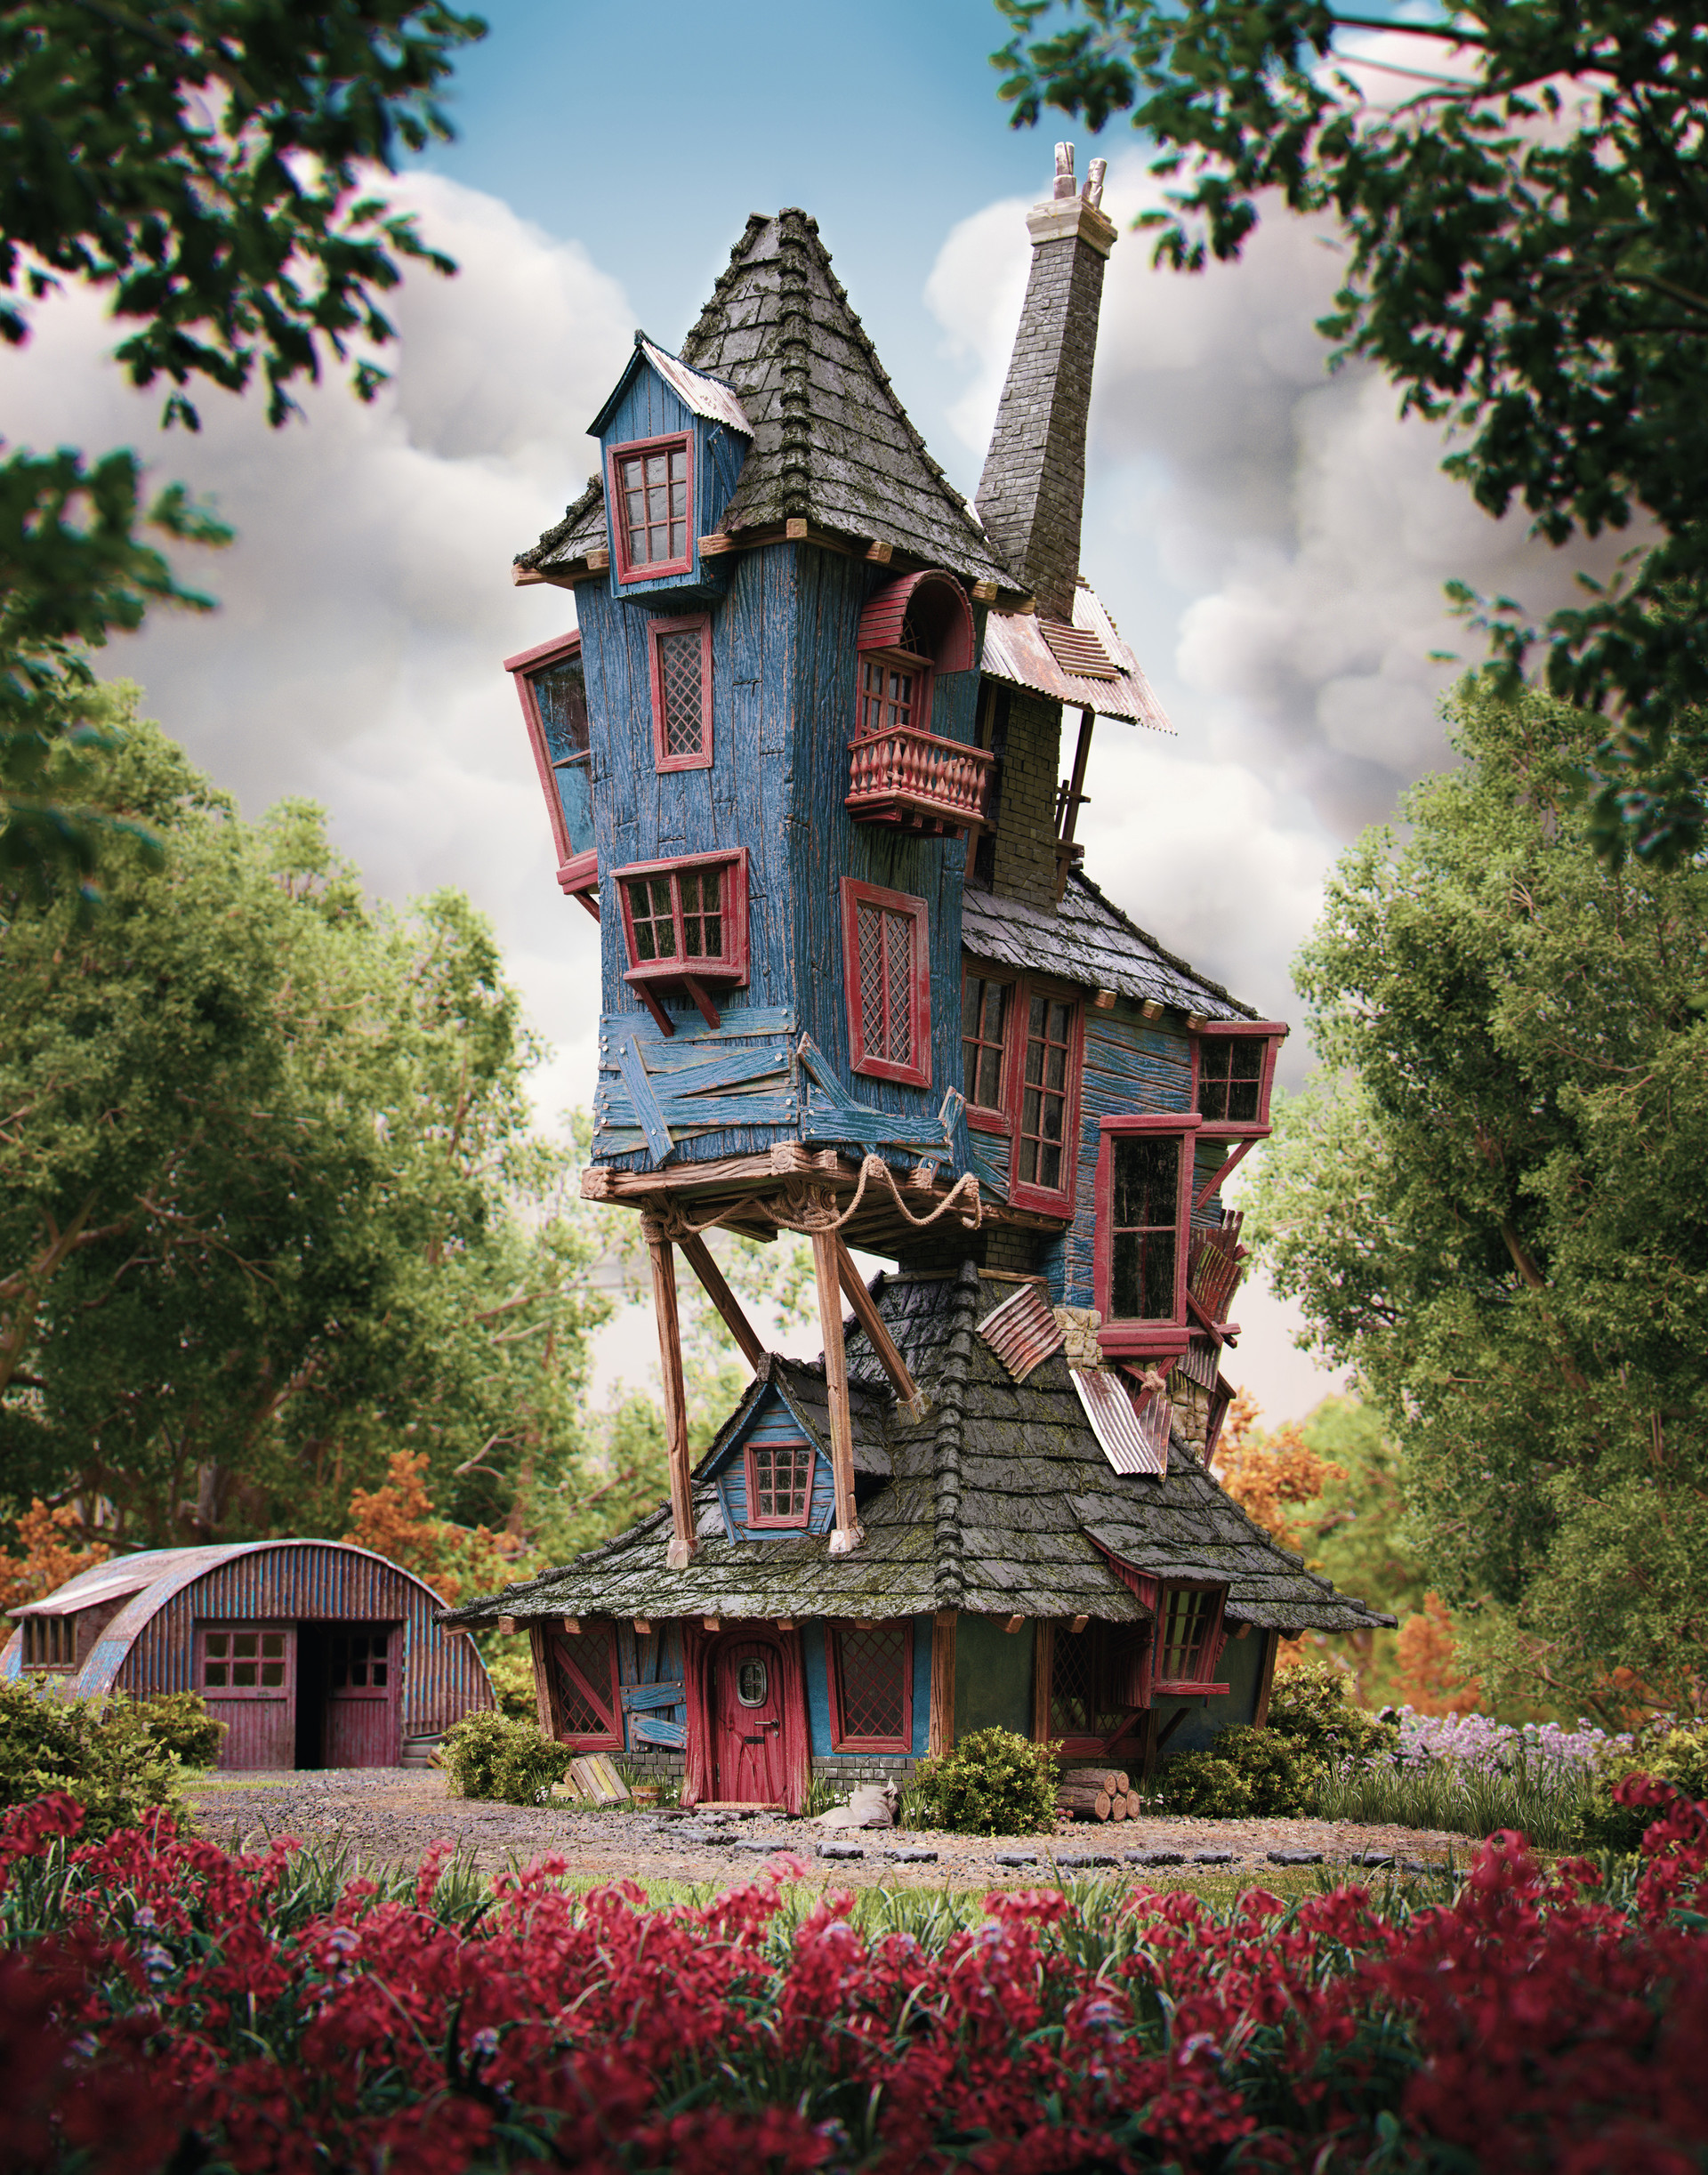
I have found a person on a website called ArtStaion, he has modelled the Burrow from Harry Potter. I would like in the future to get to this point. these are some of the models images he has uploaded. In the near future he will be uploading videos going though modelling the building.


Ideas for Modelling buildings

The Burrow:
What I like about this building is that it is an interesting shape. The colors of it are bright and subtle. The building itself would be do able because it is just different buildings on top of each other.

Hagrid’s Hut:
I like this building because it’s simple not too much going on, but that can be boring. The lighting in the background is a bit dark so it would be hard to get the colors of the hut. It’s small, not to big.

Harry Potter parents’ house:
This is quite a basic house shape, it looks dark and dangerous. It would be hard to model the hole in the roof.

Shell Cottage:
This house is unique, small but it looks too simple. it doesn’t look interesting. there is not enough detail.

12 Grimmauld Place:
The dark house in the middle is 12 Grimmauld Place. It looks boring, it just looks like a typical house you would see in London. The shape of it is cuboid, there is not enough detail.

The Three Broomsticks:
The building shape is simple in places, the windows and some of the roof of the door is curvy. The colors are bright. I think I would struggle modelling the windows and the door.

Dursely’s House:
This house it just a regular old house nothing going on, nothing unique about the design. The colors are plane and boring.

Malfoy Manor:
This building looks way too complicated to model. It has a lot of detail all round. The colors are dark, the lighting is at night so that makes it harder.

Gringotts Bank:
What I like about this building is its shape at the front, it is curved all the way up and at the sides it’s just a simple building. The main color used is white. It could be possible to model but may be difficult.

The Shrieking Shack:
This building is a bit like the Burrow, but it doesn’t have that much detail. The main colors used are brown and blacl. The shape of it is just a tall cuboid. But there is a small part on the back this is sticking out, that is unique.
Tap Project
We modelled a tap in MAYA in a day and a half.
first time using MAYA to model, I think the tap came out pretty good. I a bit of help along the way.

MAYA house project
For my house project I chose to model the Weaslys Burrow from Harry Potter. When choosing the house I didn’t relize how much of a challenge it would be but I was up for the task. The images below show what I have done so far.
This image is the most updated save I have done.

At the start we did what is called a blocking processes. This is to help get a idea of what the basic model will look like, and if you want to change something it’s easier. The image below is my version of the blocking processes.

In this image I have finished the blocking and started to add more detail with the door and adding a balcony on the roof.

I have also started to add the windows so it looks more like a house. For me the windows are the hardiest part of the building model. I have quite a bit of help with the windows. MAYA kept breaking on me.

These are images of the assets on the house (Front, back and sides) of the balcony, chimney and two of the windows.
(Front)

(Back)

(Right side)

(Left side)

I am really proud of the assets on the house. The only thing I would change would be the stairs on the balcony, I would pull them down a bit further. I would also change the measurements of the balcony a small bit because they don’t really match exactly.
These are image of the house (in progress) of the front, back and sides.
(Front)

(Back)

(Right side)

(Left side)

So far the modelling of the project I have found fun but at times it can be stressful. I am really proud of the house and I will continue to improve it.
Texture Maps
Texture Maps is what you use to texture the model after UV it. you take it into Photoshop edit it then put the texture onto the model.
The imaged above are the traditional way of texturing to make it more detailed.
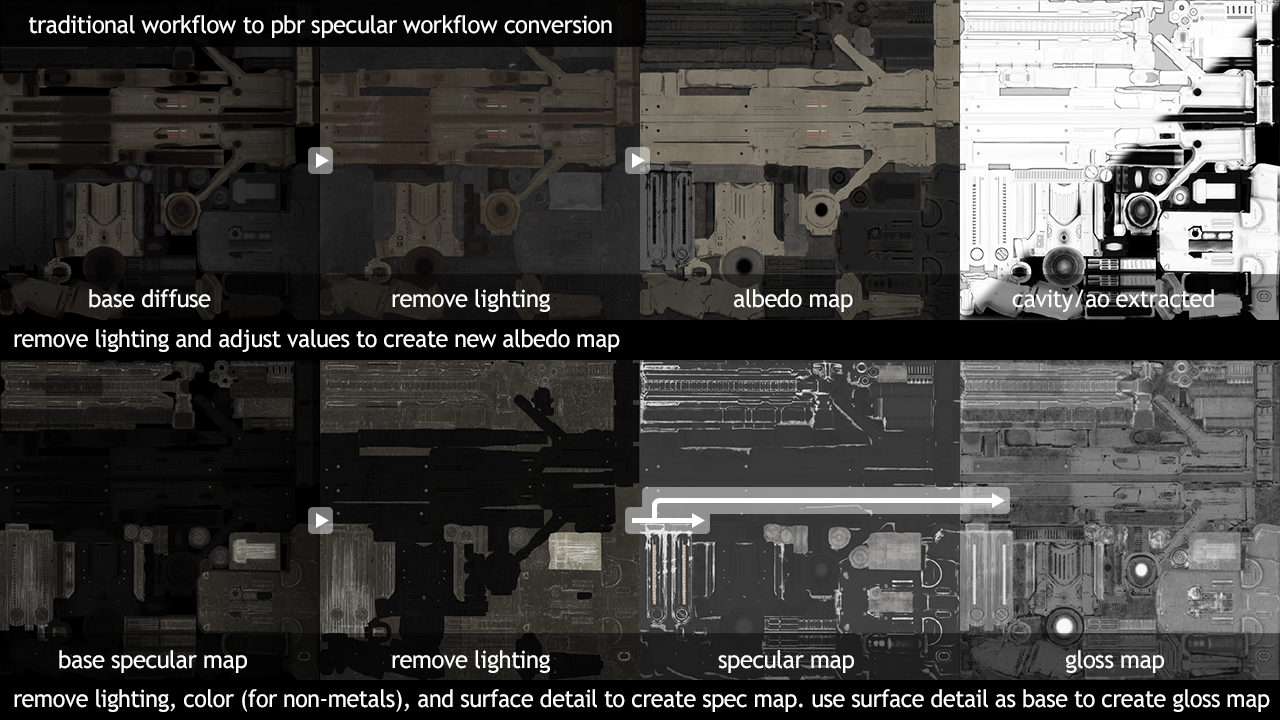
This image above is called PBR texture maps. it is the new way to texture metalness and roughness.
A lot of people use substance Painter to texture. This is another way to texture that is even more detailed.

Transfer Maps
With transfer maps it is getting a low poly model to a high poly model for example with Normal Maps you would make a high detailed model with MAYA/ZBRUSH/MUDBON then make a low detailed copy, Transfer the detail from a high to low model.
